 .
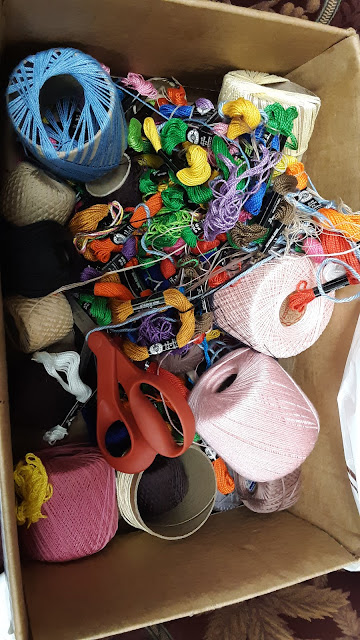
.Our project for the history chapter covering South America was to make a map. I gave the students several options, but most of them opted for string art. I raided the free wood scrap bin at a local cabinet shop, bought bags of embroidery thread from a thrift shop, and bought out the correct-sized nails from Good's Store. I told them to bring in some hammers, and we went to work.
We began working on the maps after they had all finished their chapter tests, and then the day after the test we devoted an entire class period to get as much of the project done as we could, which worked well. I gave them about a month to finish them up. Most of the students had time to work on them during school, although several took theirs home just for fun. It was fun. I couldn't resist and made one, too!

We found all of the maps (available in different printable sizes) at this website:
http://www.yourchildlearns.com/megamaps/print-south-america-maps.html.
Most of the students did the one-page map, and a few did the four-page size.

Here is a crash course in Map Weaving.
1. Print off maps from the website using the link above.
2. Tape the paper securely to the wood.

3. Carefully nail along all country lines. We used 3/4" nails. They can NOT be trim nails; they need to have a head on them.
4. RIP THE PAPER OFF. (Muy importante. I made a big mess when I tried to string it first.)
5. Choose a different color of string for each one of the countries.
6. Label all the countries using color coding or written/printed labels.
I also encouraged the students to talk about what country they were working on while we were making them.
"Brazil takes a lot of string."
"Is Paraguay north of Uruguay?" etc.

.
 .
.
